1. Start PSE and open your photo and Kirsty's page.
2. Use the rectangular marquee tool to select the texture from Kirsty's page.
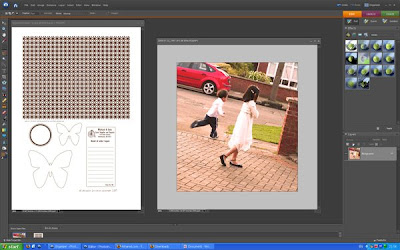
When I posted my Butterfly layout in the SC gallery, I got a couple of inquiries on how I added the texture to the photos, so I made a quick tutorial, I hope it helps.
3. Press Ctrl-c to copy the selection. Copy the selection into your photo (Ctrl-v)
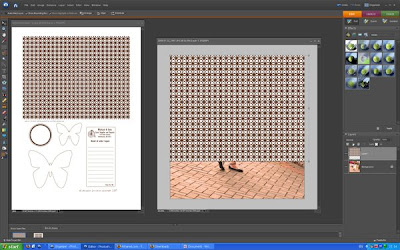
4. As the texture is not big enough to cover the photo, copy the texture again and use the move tool to cover the missing area.
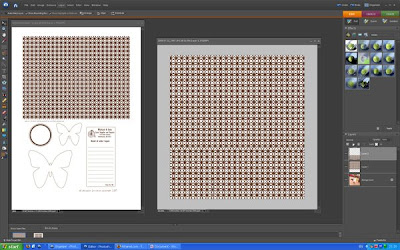
5. In the layer pallete, right click on the top layer and select Merge Down.
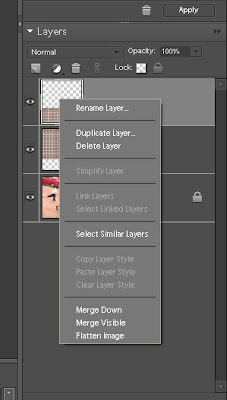
6. Now the fun bit, see where it says Normal in the layers palette? Open the drop down menu and select Overlay.
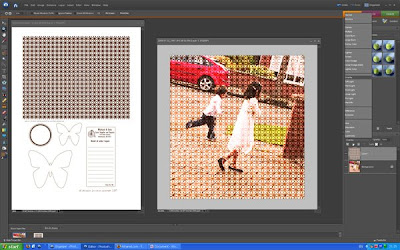
7. Move the opacity slider (I used 30% here).
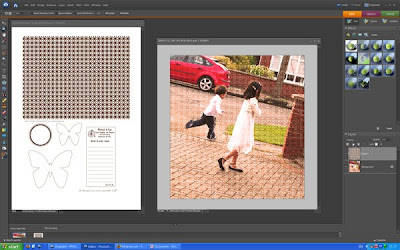
8. Use the eraser tool to remove the texture from face, arms and legs.
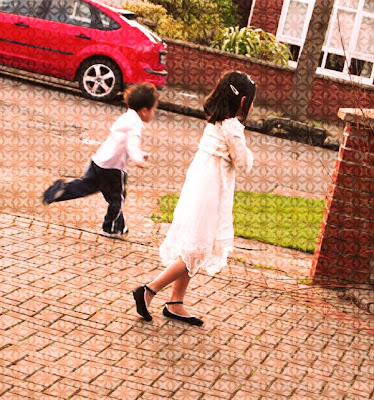
I hope it helps, thanks for asking.
Textures are big, many photographers are adicted to it, here's the article that started for me.

5 comments:
Love the overlay feature, one of my favorites! I just learned to make my own vingettes (sp?). Love this layout!
This is AWESOME! And I already knew about the layering and opacticy but I didn't know how the kids where so clear! Eraser tool... makes perfect sense! Thanks SO much for sharing, I am very eager to try this!!! You made my day! :) :) :)
thanks for the tutorial! i really love that photo ( i know i told you that before but I really do! LOL!)
You are a genious Elisa and a whizz with PS.
LOVE, LOVE the effect.
Wow, love that technique!! Thanks for the tutorial Elisa :)
Post a Comment